How to Fix a Leaking Kitchen Faucet: Hidden Signals Guide
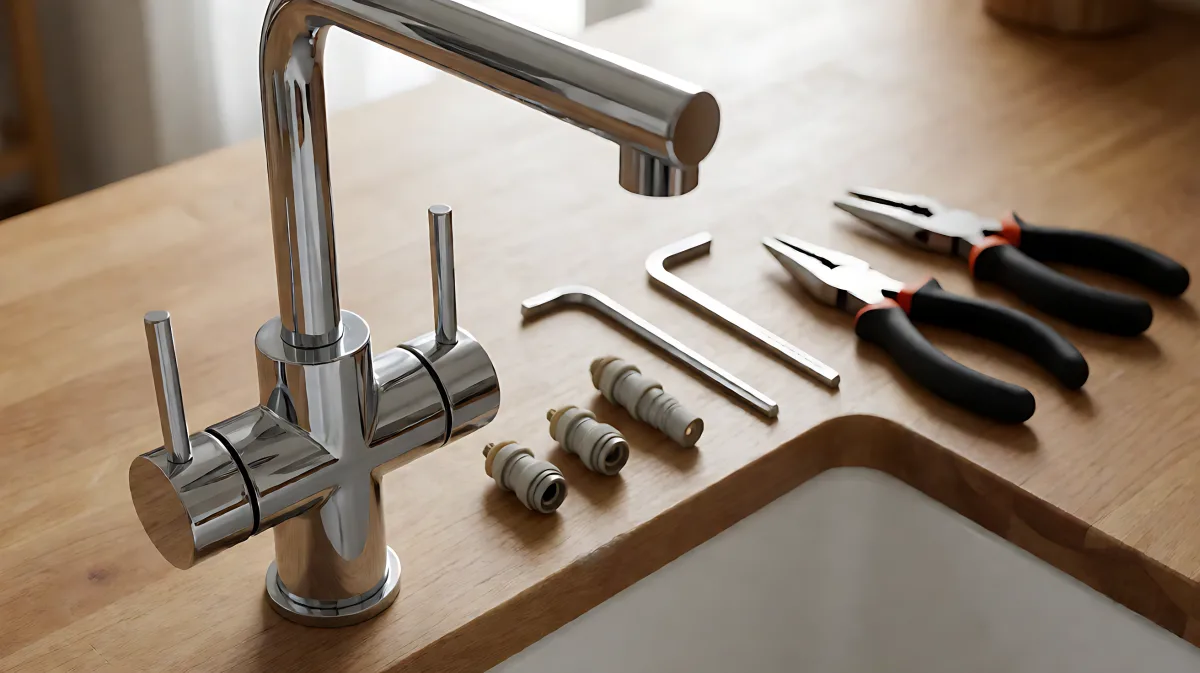
A drip under the kitchen sink is more than an annoyance; it signals a specific internal failure. This guide helps you pinpoint whether your issue is a worn cartridge, failed O-ring, or loose handle seal, and provides a clear path to a permanent fix.
A leaking kitchen faucet is rarely just a minor inconvenience; it is a specific signal pointing to a worn internal component. Whether the drip comes from the spout, pools at the base, or seeps under a handle, each location corresponds to a distinct part failure. By identifying the exact source of the leak in under thirty seconds, you can target the repair without guessing, saving time and preventing unnecessary waste of thousands of gallons of water annually.
How Do You Identify the Specific Source of a Kitchen Faucet Leak?
Before disassembling anything, you must distinguish between the four common leak types. Each has a different root cause and a different fix. Running the faucet for a short period and then observing it as it runs out will help you isolate the problem.
Water Drips From the Spout After Turning Off
This is the most frequent issue homeowners face. A drip from the spout typically indicates that the internal cartridge or valve seats have worn out over time. In modern single-handle faucets, the ceramic discs inside the cartridge may suffer from mineral buildup or physical wear, allowing water to bypass the seal. If the handle feels gritty, loose, or requires excessive force to turn, the cartridge is likely the culprit.
Water Pools Around the Base of the Faucet
If you see moisture accumulating where the faucet meets the sink deck, but the spout and handles are dry, the problem is usually below. This signals failed O-rings or a loose mounting seal. These small rubber rings are designed to stay flexible, but prolonged exposure to water, especially hard water, causes them to harden and crack. As they lose their shape, they can no longer prevent water from escaping the faucet body when it is running.
Water Seeps From Underneath the Handle
A leak specifically at the handle's shaft points to the packing nut or the seal assembly. Inside the handle mechanism, a packing nut presses a seal against the valve stem to keep water in. Over time, this seal degrades or the nut loosens, causing water to leak out of the gap between the handle and the faucet body. If the handle feels loose or the leak worsens when the faucet is fully open, the packing nut likely needs tightening or the seal needs replacement.
Water Sprays from the Pull-Out or Pull-Down Sprayer
If you have a modern sprayer, leaks often occur at the connection between the hose and the sprayer head, or within the hose itself. This is frequently due to a loose fitting, a cracked plastic component, or a failing internal seal. A quick visual inspection of the metal ring or plastic connector usually reveals the issue.
What Tools and Parts Do You Need for a Successful Repair?
Most kitchen faucet repairs can be completed in under an hour with a basic set of tools. The specific parts you need depend on the brand and model of your faucet, so identifying these is the first step.
- Basic Hand Tools: A set of screwdrivers (flathead and Phillips), an adjustable wrench, and needle-nose pliers.
- Hex Keys: Many modern faucets use set screws on the handles that require a small Allen wrench (often 4mm or 5mm).
- Replacement Cartridge: For spout drips, you need the specific cartridge that matches your faucet. Taking the old one to the store is the safest way to ensure a match.
- O-Ring Assortment Kit: For base leaks, a kit containing various sizes of rubber rings (usually costing less than $10) is more economical than buying a single part.
- Plumber's Grease: A small tube of this lubricant is essential for seating new seals without tearing them during installation.
How Do You Fix a Leaking Kitchen Faucet Step-by-Step?
Once you have identified the leak type, follow these targeted repair steps. Remember to turn off the two shut-off valves under the sink before you begin. If you do not have individual shut-off valves, turn off the main water supply to your home.
Repairing a Spout Drip (Cartridge Replacement)
This is the most common repair. Start by removing the decorative cap on the handle to expose the set screw. Use your Allen wrench to remove the screw and lift the handle straight off. Underneath, you will find a large retaining nut. Use your adjustable wrench to loosen this nut (counter-clockwise) and remove it. Carefully pull the cartridge out. It may be stuck if mineral deposits have formed; gentle tugging usually frees it. Take the old cartridge to a hardware store to find a match. When installing the new one, apply a thin layer of plumber's grease to the rubber seals to ensure a smooth fit. Align the cartridge correctly (hot water side to the left, cold to the right, for standard installations) and insert it. Reassemble the handle and turn the water back on slowly to check for leaks.
Fixing a Base Leak (O-Ring Replacement)
For leaks at the base, you usually need to access the internal seals. In many pull-down or pull-out faucets, you can remove the spout by finding a set screw on the side or back of the faucet body. Once the spout is lifted, you will see the O-rings on the lower section. Remove the old, flattened rings and slide new ones into the grooves. Ensure they are not twisted. Reattach the spout and test the connection. If the leak persists, you may need to disassemble the faucet body itself to replace the main base gasket.
Addressing Handle Leaks (Packing Nut Adjustment)
If the leak is from the handle, first try tightening the packing nut. This is usually a nut located just under the handle assembly. Turn it clockwise with pliers, but do not overtighten, as this can make the handle difficult to turn. If tightening does not stop the leak, the internal seal is likely worn. You will need to disassemble the handle and pull out the valve stem to replace the small rubber washer or seal at the top of the stem. This is a more involved repair but is still manageable for most DIYers.
What Common Mistakes Should You Avoid During the Repair?
Many homeowners assume that a dripping faucet simply needs the handle tightened, but in fact, the issue is almost always internal. Tightening the handle on a faulty cartridge will not stop the leak and may damage the faucet finish. Additionally, a frequent error is using the wrong wrench on chrome-plated parts, which can leave unsightly scratches or strip the finish. Always wrap a rag around the part before using pliers or an adjustable wrench. Finally, forgetting to turn off the water supply is a catastrophic mistake that can flood your kitchen. Never skip this step.
When Should You Replace the Entire Faucet Instead of Repairing?
Repair is usually the most cost-effective option, but there are signs that a full replacement is better. If the faucet body itself is corroding or has pinholes, no amount of internal repair will fix it. This is common in older zinc-alloy faucets. Similarly, if the internal threads are damaged from previous over-tightening, it becomes difficult to seal the parts correctly. If you find that you are repairing the same leak twice, it may be time to invest in a new, higher-quality faucet made of solid brass or lead-free materials. These often come with better warranties and more durable internal components.
Frequently Asked Questions
How much water does a dripping kitchen faucet waste?
A faucet that drips one drop per second can waste over 3,000 gallons of water per year. This adds up quickly on your utility bill and contributes to unnecessary water strain. Fixing the leak immediately saves both money and resources.
Can I use generic O-rings for my specific faucet model?
While it is possible to use generic O-rings, it is not recommended. Faucet manufacturers design their seals to fit specific dimensions and pressure ratings. A generic ring might be slightly too small or too large, leading to immediate failure. It is always better to match the size by measuring the old ring or using a kit with various sizes to find the perfect fit.
What if I cannot find a replacement cartridge for my old faucet?
If your faucet is very old and parts are no longer manufactured, a full replacement is often the only viable option. Many older ball-type faucets are discontinued, making their parts hard to find. In this case, installing a modern cartridge or ceramic disc faucet is usually cheaper and more reliable than sourcing rare parts.
Is it safe to use a handle puller tool?
Yes, a handle puller is a safe and effective tool for removing stubborn handles that are stuck due to mineral buildup. It applies even pressure to avoid damaging the handle's finish. However, ensure the tool is centered correctly before applying force to prevent slipping and scratching the countertop or faucet body.