Water Heater TPR Valve Test & Reset Guide
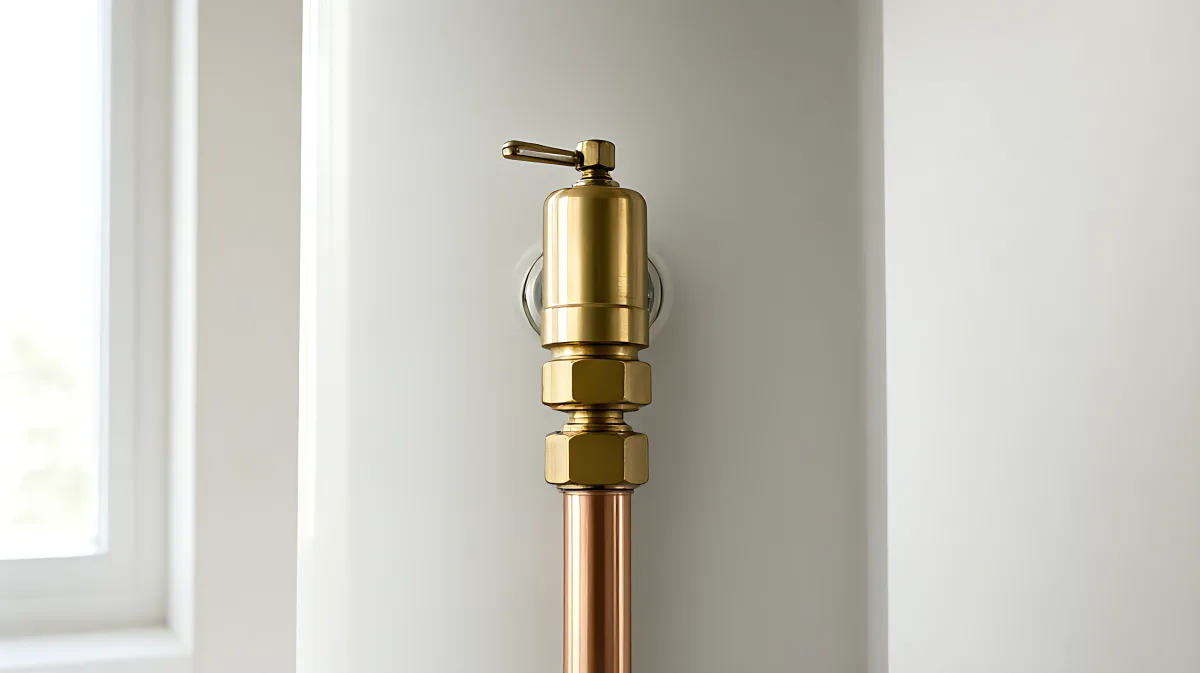
Your water heater's TPR valve is its primary safety shield. Discover how to perform a quick annual test, interpret dripping or silent results, and safely replace a failed unit to prevent tank rupture.
Your water heater’s temperature and pressure relief valve, often called the TPR valve, is the critical safety device that prevents your tank from rupturing. To test it, place a bucket under the discharge pipe, gently lift the test lever halfway, and confirm a strong rush of water exits the pipe. If the flow stops cleanly when you release the lever, the valve is working. If no water comes out or it continues to drip, the valve has failed and must be replaced immediately to protect your home.
Why is the TPR valve so important?
Every tank-style water heater is equipped with a TPR valve, a requirement mandated by plumbing codes and safety standards. This small brass fitting acts as the last line of defense against catastrophic failure. When the water inside the tank gets too hot or the pressure builds up dangerously, the valve opens to release the excess water and pressure. Without this safety measure, a malfunctioning thermostat could cause the tank to explode, leading to significant property damage and injury.
According to the Department of Energy, homeowners should check this valve annually to ensure it remains operational. A valve that is stuck closed is a hidden hazard, while one that is stuck open is a constant source of leaks and water damage. Understanding how it works helps you distinguish between a normal safety function and a genuine fault that requires repair.
How do I test my water heater's TPR valve?
Testing the valve is a straightforward process that takes less than five minutes, but you must handle it with care because the water inside the tank can be scalding. Before you begin, gather a sturdy bucket and wear closed-toe shoes. The water that may escape can reach temperatures up to 210 degrees Fahrenheit, which causes instant burns.
- Locate the valve and discharge pipe: Find the brass valve on the top or upper side of the tank. Ensure the discharge pipe is properly connected and points toward the floor or a drain.
- Position the bucket: Place the bucket directly under the end of the discharge pipe to catch the hot water.
- Lift the test lever: Gently raise the metal lever on top of the valve about halfway. You should feel slight resistance from the internal spring.
- Observe the flow: A working valve will release a strong, steady rush of water down the pipe. Keep your hands and face clear of the outlet.
- Release the lever: Let the lever snap back into place on its own. The water flow should stop within one or two seconds.
What do the test results mean?
The outcome of your test tells you exactly what state the valve is in. A strong gush of water followed by a clean stop means the valve is functioning correctly. It can open on demand and reseats properly.
If nothing comes out when you lift the lever, the valve is stuck shut. This is the most dangerous result because the valve cannot relieve pressure in an emergency. You must replace it immediately.
If water continues to drip or gush after you release the lever, the internal seal has failed. The valve is not reseating, and you need to replace the unit to stop the continuous water loss.
Why is my TPR valve dripping constantly?
Many homeowners assume a dripping TPR valve is always broken, but it can also indicate a problem with your home’s overall water pressure or thermal expansion. If the drip occurs only after the water heater has been running, it may be due to thermal expansion. In closed plumbing systems, expanding hot water has nowhere to go, causing a pressure spike that forces the safety valve to open slightly to relieve the tension.
To check if pressure is the culprit, use a pressure gauge on a hose bib in your home. Most plumbing codes state that incoming water pressure should not exceed 80 PSI. If your pressure is significantly higher, you may need a pressure-reducing valve on your main line or a thermal expansion tank to handle the extra stress. If, however, the valve drips constantly regardless of whether the heater is running, or if it failed to stop after your manual test, the valve itself is defective and needs replacement.
How do I replace a failed TPR valve?
Replacing the valve is a moderate DIY task, but you must shut off the water heater and drain some water from the tank first. Here is a checklist to follow:
- Shut off the cold water supply: Close the valve on the cold pipe entering the top of the tank.
- Disconnect power or gas: Turn off the breaker for electric units or close the gas valve for gas units to prevent the burner from firing while you work.
- Drain the tank: Open the drain valve at the bottom of the tank and let a few gallons flow out until the water level is below the TPR valve.
- Remove the old valve: Use a pipe wrench to unthread the old valve. Have a rag ready to catch any residual water.
- Install the new valve: Wrap the threads of the new valve with PTFE tape. Ensure the new valve is rated for the correct temperature and pressure specifications for your heater. Thread it in snugly and reattach the discharge pipe.
- Refill and check: Close the drain valve, turn the cold water supply back on, and slowly refill the tank. Check for leaks at the new connection.
Never cap, plug, or seal the discharge pipe or the valve outlet to stop a drip. This defeats the primary safety function of the water heater and can lead to a tank rupture. If the valve leaks, fix the underlying pressure issue or replace the valve, but keep the safety outlet open.
Frequently Asked Questions
How often should I test my TPR valve?
You should test the TPR valve once a year. Regular exercise keeps the internal mechanism free from mineral buildup and corrosion. A valve that is never moved is more likely to seize and fail when it is actually needed for safety.
Can I reset the valve myself?
If the valve has tripped due to a temporary pressure spike, it usually resets on its own. If it is dripping continuously, you cannot "reset" it; you must replace the unit. If you suspect high system pressure, you can address that by installing an expansion tank, but the valve itself cannot be adjusted to stop leaking.
What is the correct water heater temperature?
For standard residential water heaters, the thermostat should be set to 120 degrees Fahrenheit. This temperature is hot enough for most household uses but reduces the risk of scalding and prevents the tank from overheating to the point where the TPR valve activates unnecessarily.
Is it dangerous if the valve is stuck shut?
Yes, it is a significant safety hazard. If the thermostat fails and the water continues to heat, pressure will build inside the tank. A stuck-shut valve cannot release this pressure, increasing the risk of the tank rupturing and causing flooding or structural damage.