Fix a Loose Toilet Paper Holder: Step-by-Step Guide
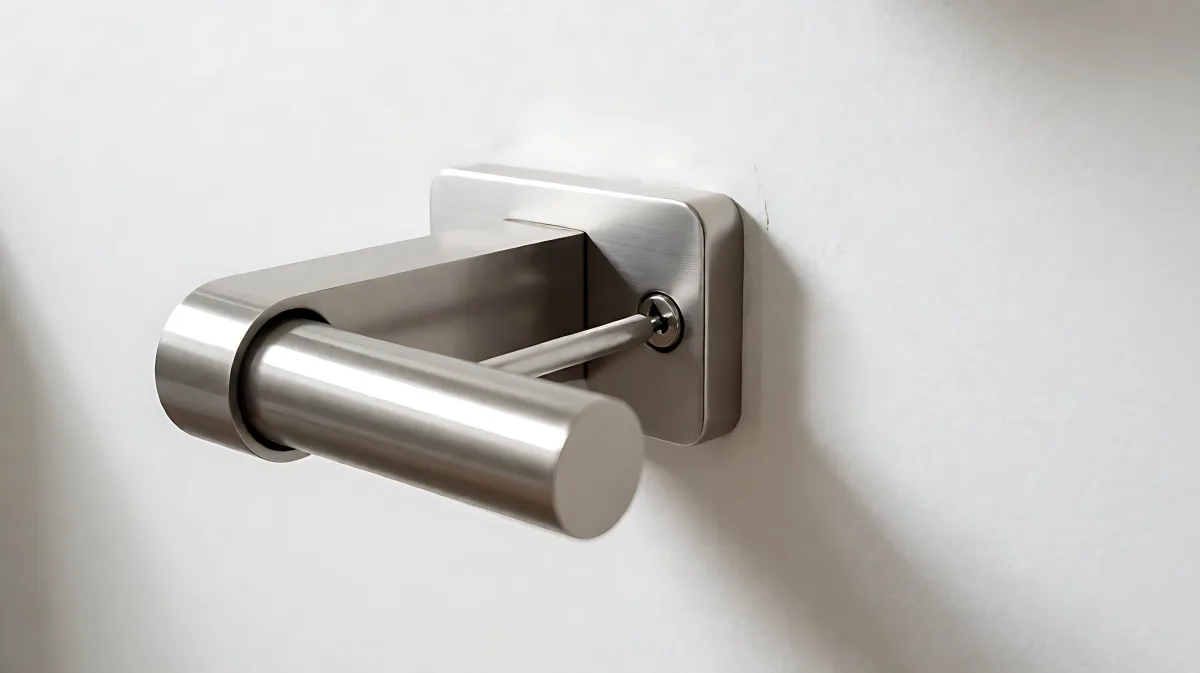
A wobbly toilet paper holder is more than an annoyance; it is a sign of failing hardware. This guide explains how to replace anchors, tighten set screws, and ensure proper placement for long-term stability.
A loose toilet paper holder can be fixed in under 15 minutes by replacing worn drywall anchors or tightening set screws. Most units become unstable because repeated use loosens the mounting hardware, but correcting this prevents wall damage and ensures the roll stays within easy reach of the user.
Why Does My Toilet Paper Holder Come Loose?
Many homeowners assume the holder is simply "old" and need to buy a new unit, but in fact, the problem is almost always the mounting hardware. The decorative arms of a standard dispenser are subjected to frequent pushing and pulling each day. Over time, this friction works the set screws loose. If the holder was originally mounted with plastic expansion anchors in drywall rather than a stud, those anchors can also fatigue and back out of the wall, causing the entire bracket to wobble.
Patrick Johns, a home improvement specialist with over 28 years of experience in residential construction, notes that ignoring a loose fixture allows the downward pressure of the arm to grind the screw into the plaster, eventually creating a larger hole that requires patching rather than just tightening.
How to Fix a Slightly Loose Holder
If the holder is only wobbling on the arm but remains firmly attached to the wall bracket, the repair is straightforward. You do not need to drill or replace anchors. Follow this checklist to secure the fixture:
- Inspect the underside: Look at the bottom of the loose arm or escutcheon. You will see a small hole containing a set screw. This screw may be headless, requiring an eyeglass screwdriver, a tiny flathead, or a small Allen key.
- Remove the screw: Grip the screw head between your thumb and index finger and twist gently to back it out. If it is tight, use the appropriate small driver.
- Retighten firmly: Reinsert the screw into the hole and tighten it until the arm no longer moves. Ensure the decorative cover is aligned with the bracket before final tightening.
This method works for about 90 percent of minor loosening issues and takes less than two minutes with the right tool.
How to Replace Worn Drywall Anchors
If the entire bracket is loose and the anchor holes are stripped, you must replace the anchors. The iFixit community, which tracks over 600 user submissions on this specific repair, recommends using new 5/8-inch drywall anchors for standard residential units. The process takes 10 to 15 minutes.
What Tools Do I Need for Anchor Replacement?
You will need a Phillips #2 screwdriver, a 3 mm flathead screwdriver, and new plastic or metal toggle anchors rated for at least 30 pounds of pull-out force. Toggle bolts are recommended over standard plastic expansion anchors for areas where the roll gets stuck and requires hard pulling.
Step-by-Step Anchor Replacement Process
- Release the mechanism: Press the spring back inside the dispenser to allow the holder to detach from the bracket.
- Remove the arm: Use the flathead screwdriver to loosen the screw at the bottom of the holder arm. Lift the arm off the bracket to expose the wall anchors.
- Extract old anchors: Use the Phillips screwdriver to unscrew the old anchors from the wall holes. Discard them if they are damaged or crushed.
- Insert new anchors: Push the new drywall anchors into the existing holes. If the holes are too large, use a slightly larger diameter anchor or patch the drywall.
- Reattach hardware: Screw the new anchors into place with the Phillips driver, ensuring they are flush with the wall surface. Reattach the holder arm and spring.
What Is the Correct Height for a New Holder?
If you are replacing the holder entirely, proper placement is critical for comfort and code compliance. The National Kitchen and Bath Association (NKBA) guidelines suggest specific ranges to ensure accessibility.
| Installation Type | Height from Floor | Distance from Toilet |
|---|---|---|
| Standard Residential | 26 to 32 inches | 8 to 12 inches forward of seat |
| ADA Compliant | 15 to 48 inches | 7 to 9 inches forward of water closet |
| Comfort Height | 28 to 30 inches | 8 to 10 inches forward of seat |
For a typical bathroom, 26 inches is the minimum standard height, while 32 inches is suitable for taller users. Always ensure the holder is at least six inches clear of any vanity, grab bar, or door swing path.
Common Mistakes to Avoid
One frequent error is mounting the holder on the back wall of the toilet. This forces the user to reach around the bowl, which is uncomfortable and can splash water during cleaning. The side wall is always the preferred location. Additionally, many people use adhesive mounts for rental properties, but these lose strength in the high humidity and temperature cycling of a bathroom. For any fixture used daily, screw-and-anchor mounting is the only reliable long-term solution.
FAQ
Can I mount a toilet paper holder on tile?
Yes, but you must use a carbide or diamond-tipped drill bit to avoid cracking the glaze. Use anchors specifically designed for tile or masonry, such as epoxy anchors or plastic sleeves, and drill slowly without using a hammer setting.
What anchors work best for drywall?
Toggle bolts or self-drilling metal anchors hold 30 to 50 pounds, making them ideal for toilets paper holders that experience high stress. Standard plastic expansion anchors are sufficient for light units but may fail if the roll frequently gets stuck.
Should the holder go on the front or back wall?
Always install the holder on the side wall, 8 to 12 inches forward of the toilet seat. Front-wall mounts require an awkward reach, and back-wall mounts force the user to twist, which is unsafe for individuals with limited mobility.