Remove Grab Bars Safely: Step-by-Step Repair Guide
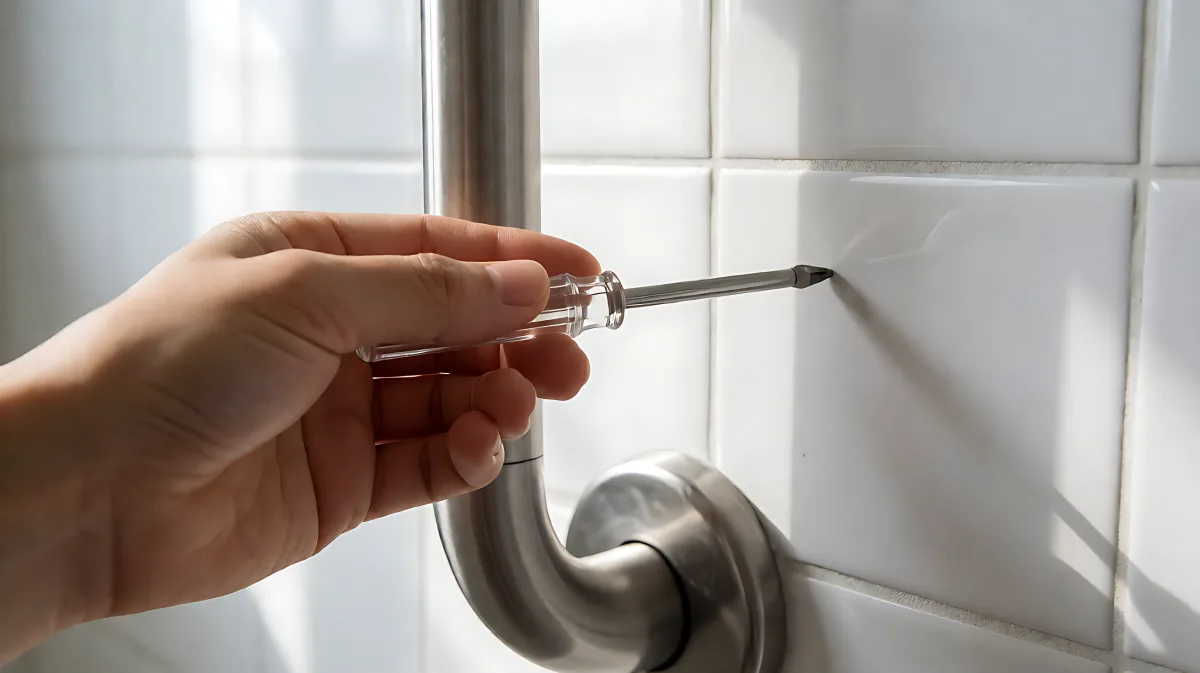
Removing grab bars is a straightforward task if you have the right tools and technique. Learn how to access hidden fasteners, safely detach the hardware, and repair the resulting holes in drywall or tile.
Removing a grab bar is a manageable DIY task that involves identifying hidden fasteners, detaching the hardware without stressing the wall, and patching the resulting holes. Whether you are renovating a bathroom or dealing with a loose, corroded bar, success depends on knowing exactly where the screws are hiding and using the correct tools to avoid damaging the underlying drywall or tiling.
Why do homeowners need to remove bathroom grab bars?
While grab bars are essential safety devices for individuals with mobility challenges, they are not always permanent fixtures. Homeowners frequently find themselves needing to remove these supports for several practical reasons. A common scenario involves a bathroom renovation where new tiling or paint is being applied, requiring the area to be completely clear. Additionally, older installations may rust or corrode over time, compromising their structural integrity and making them unsafe to use. In rental situations, landlords may require the removal of modifications made by previous tenants to restore the property to its original state. Finally, some homeowners simply find that the hardware is no longer needed or is obstructing other accessories, such as towel racks or shelving.
What tools are required for a clean removal?
Before you begin, it is critical to gather the necessary equipment. This preparation prevents delays and ensures you can handle various fastening styles. You will need a standard screwdriver, which may be flat-head or Phillips-head, depending on the specific hardware. A cordless power drill is also highly useful for applying torque to stubborn screws. To address the wall surface afterward, keep a putty knife, a small block of sandpaper, and spackle or joint compound within reach. For installations involving fiberglass shower surrounds, you may need a specialized fiberglass patch kit with two-part epoxy. A utility knife is helpful for cutting through any caulk that seals the mounting plates to the wall, and safety goggles are recommended to protect your eyes from dust or debris.
How do you locate the hidden mounting screws?
Many modern grab bars feature decorative escutcheons, which are round metal or plastic plates that cover the screw heads to provide a sleek appearance. This design can be confusing for first-time DIYers who cannot immediately see the fasteners. To reveal them, you must first detach these plates. Carefully inspect the perimeter of the plate for a small set screw that holds it in place. If a set screw is present, use an Allen wrench or small Phillips screwdriver to remove it. If there is no set screw, use a utility knife to cut through any caulk sealing the plate to the wall. Then, use a flat-head screwdriver to gently pry the plate away from the surface. Once the plate is lifted, you will see the mounting screws securing the bar to the wall, which are often lag screws or heavy-duty machine screws.
What is the correct method for unscrewing the hardware?
Once the screws are exposed, the removal process depends on the type of fastener. For Phillips-head screws, a power drill with the appropriate bit is the most efficient tool. The torque generated by the drill makes it easy to back out tight screws without stripping the heads. For hex-head lag screws, you will need a socket wrench with the correct size, typically a quarter-inch drive. As you remove the fasteners, be mindful of the wall material behind the bar. If the bar is mounted to tile, excessive force can crack the ceramic. Apply steady, controlled pressure and back the screw out slowly. If the bar feels stuck, avoid jerking it, as this can pull anchor material out of the drywall or damage the grout lines.
How do you repair the wall after removing the bar?
The type of repair required depends on the substrate. For drywall, the process is straightforward. Wipe away any dust with a wet sponge and fill the holes with spackle or joint compound using a putty knife. Allow the compound to dry completely, which usually takes several hours. Once dry, sand the area with fine-grit sandpaper until it is flush with the surrounding wall. If the wall is painted, apply a primer and then touch up with matching paint to make the repair invisible. For tile, the repair is more complex. You cannot simply spackle over a hole in ceramic. Instead, you can fill the hole with epoxy or a specialized tile filler. For a more permanent fix, you may need to remove the damaged tile and install a new matching piece. This requires mortar and a matching grout color. If the grab bar was attached to a fiberglass shower surround, use a fiberglass repair kit. These kits typically include a patch material and a two-part epoxy resin. Apply the epoxy, sand it smooth with progressively finer grits of sandpaper, and then paint over the area with a fiberglass-specific paint to ensure a durable finish.
What are the common mistakes to avoid during removal?
One significant error is assuming that grab bars are glued in place. While suction cups or adhesive strips exist, professionally installed bars are always screwed into studs or wall anchors. Never attempt to pull a screwed-in bar loose without removing the fasteners first, as this will damage the wall structure. Another mistake is using the wrong size screwdriver. Using a screwdriver that does not fit the head perfectly will strip the screw, making removal much more difficult and potentially requiring a drill-out method. Finally, neglecting to inspect the wall for damage before replacing a bar is risky. If you plan to install a new bar in the same spot, ensure the drywall is solid and the anchors are secure. If the area is crumbling or the tile is cracked, repair the substrate completely before mounting new hardware.
Frequently Asked Questions
Can I use a magnetic tool to find hidden screws?
Yes, you can use a strong magnet to detect hidden metal fasteners behind decorative plates or wall coverings. Run the magnet along the length of the grab bar; it will stick to any steel screws. This method helps you locate the exact position of the screws before you start prying or cutting, reducing the risk of damaging the surrounding area.
What if the screw head is stripped or rusted shut?
If a screw is too corroded to turn with a screwdriver or drill bit, you may need to use a screw extractor kit. These kits use a bit that taps into the stripped screw head, allowing you to back it out. Alternatively, you can carefully drill out the center of the screw with a masonry or metal bit slightly larger than the screw diameter, being careful not to widen the hole in the wall excessively.
Do I need to remove the anchor screws from the drywall?
It is generally not necessary to pull the wall anchors out of the drywall when removing a grab bar. The anchors are typically plastic or metal plugs that stay inside the wall cavity. Leaving them in place is usually fine as long as the hole is patched over. However, if the anchor is protruding or causing the patching material to crack, you can carefully tap it back into the wall or remove it with needle-nose pliers.
How long does it take to dry spackle on a patched hole?
Standard all-purpose spackle usually takes between 24 and 48 hours to dry completely, depending on humidity and ventilation. Quick-setting varieties may be ready in as little as 15 to 30 minutes. It is important to wait for the material to dry fully before sanding, as sanding damp spackle will clog the paper and create a rough, uneven surface that is difficult to paint over.