Leaking Water Heater Drain Valve? Here Is How To Fix It
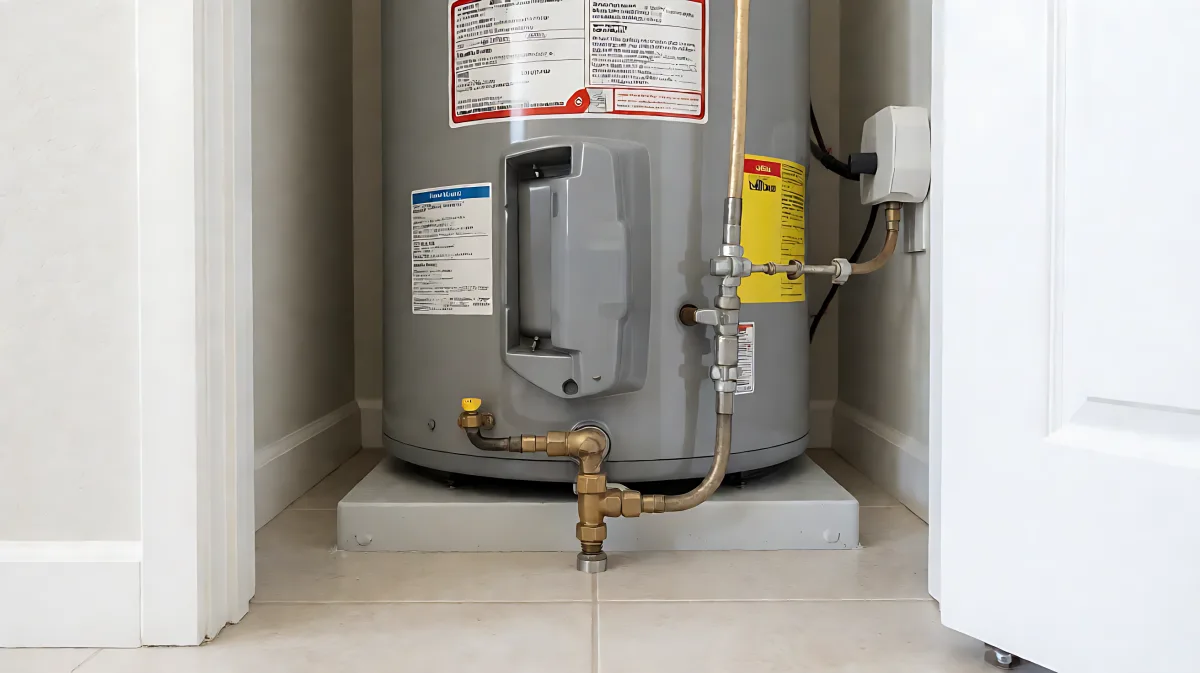
Is water pooling under your hot water tank? Learn how to diagnose and repair a leaking drain valve safely to prevent costly home damage.
A leaking water heater drain valve causes water to drip or pour from the bottom of your tank, wasting thousands of litres annually and risking significant floor damage. To stop this, you must identify whether the leak stems from loose connections, a worn internal seal, or a cracked body, then address the source immediately by tightening, replacing the valve, or calling a professional.
Why Does My Water Heater Drain Valve Leak?
The drain valve is a simple component designed to empty the tank for flushing sediment, but it is one of the most common points of failure in residential plumbing. A leak at this location is rarely caused by high pressure, but rather by material degradation or mechanical issues.
- Worn Seals and Gaskets: The rubber or silicone seals inside the valve degrade over time due to heat and mineral exposure. As these seals harden and crack, they lose their ability to hold the valve closed tightly, resulting in a steady drip.
- Improper Installation: If the valve was not installed with sufficient thread sealant or was cross-threaded during initial installation, it may never have been sealed correctly. This often leads to leakage at the junction between the valve and the tank bottom.
- Sediment Blockage: Heavy buildup of scale and debris can prevent the valve’s internal lever from moving freely. When the valve cannot close fully against the seat, water escapes during regular operation.
- Material Fatigue: Many older units use plastic drain valves, which are prone to becoming brittle and cracking. Even minor impacts or shifts in the tank can cause hairline fractures in plastic components.
How Do I Identify The Source Of The Leak?
Before attempting any repair, you must isolate exactly where the water is coming from. This prevents you from replacing the wrong part. Wipe the area completely dry with a clean cloth and place a piece of white paper towel underneath the valve.
Observe the wet spot on the paper. If the moisture appears directly around the threads where the valve meets the tank, the issue is likely a loose connection or a bad seal. If the water is coming out of the spout or overflow pipe, the internal valve mechanism is failing. If you see water seeping through a crack in the valve body itself, the component is physically damaged and must be replaced. In cases where the leak is near the tank bottom but not on the valve, inspect the tank for corrosion. A rust spot on the tank floor indicates the metal is thinning, which is a failure of the tank rather than the valve.
What Steps Should I Take To Stop The Leak?
Addressing a leak requires a methodical approach to ensure safety and prevent water damage. Start by containing the water, then move to power isolation, and finally, execute the repair or temporary fix.
How Do I Safely Prepare The Water Heater For Repair?
Safety is the primary concern when working around hot water and electricity. Follow these preparation steps strictly:
- Shut Off The Water Supply: Locate the cold water shutoff valve near the unit and turn it clockwise until it stops. This prevents new water from entering the tank and pressurising the system.
- Disconnect Power: For electric models, switch off the circuit breaker dedicated to the water heater. For gas models, turn the gas supply valve to the 'off' position and set the thermostat to 'pilot' if you are not relighting it immediately. This prevents the burners from firing on an empty tank, which can cause severe damage.
- Attach A Drain Hose: Connect a standard garden hose to the drain valve spout and route it into a large bucket or directly to a floor drain. This is essential if you need to lower the water level to access the valve or flush out debris.
- Inspect And Tighten: Once the power is off and the system is safe, use a wrench to gently tighten the valve into the tank. Do not force it, as overtightening can strip the threads. Check for visible cracks in the valve body. If the leak persists after tightening, the valve itself is faulty.
When Should I Replace The Drain Valve?
Tightening is only a temporary fix if the internal seals are compromised. Replacement is the definitive solution for persistent leaks. This is a manageable DIY project for most homeowners, but it requires the correct parts and tools.
What Tools And Parts Do I Need For Replacement?
Ensure you have the following items before you start the job:
| Item | Purpose |
|---|---|
| Replacement Drain Valve | Choose a brass valve for longevity. Plastic valves are more prone to cracking under thermal stress. |
| Adjustable Wrench | Necessary for loosening the old valve from the tank bottom without stripping the fittings. |
| Plumber's Tape | Used to seal the male threads of the new valve before installation. |
| Bucket Or Hose | To manage the water that will drain from the tank when you open the valve. |
When selecting a new valve, look for a brass model with a standard male thread that matches your tank's diameter. Brass is harder than plastic and resists the buildup of scale better. If you are replacing the valve, remember that you may need to partially drain the tank to relieve pressure and allow the valve to be removed. Once the old valve is out, clean the tank threads, apply tape to the new valve, and hand-tighten it before using a wrench for a final quarter-turn. Do not overtighten the valve into the tank, as this can stress the tank bottom and cause a new leak at the tank-to-valve junction.
How Can I Prevent Future Drain Valve Issues?
Preventive maintenance is far cheaper than emergency repair. A proactive approach extends the life of your entire water heating system.
- Flush Sediment Annually: The leading cause of valve failure is sediment. Flushing the tank once a year removes the layer of scale that sticks to the valve seat. This simple task keeps the valve moving freely and prevents blockages.
- Use A Water Softener: If you live in an area with hard water, installing a softener reduces mineral deposition significantly. This prolongs the lifespan of not just the valve, but also the heating elements and anode rod.
- Monitor Pressure: Excess water pressure puts stress on all components, including the valve. Install a pressure gauge on your cold water line to ensure it stays below 80 psi. If it is higher, a pressure-reducing valve can protect your system.
Frequently Asked Questions
Can I leave the drain valve open while the water heater is running?
No. The drain valve must always be fully closed during operation. Leaving it open, even slightly, will cause a continuous leak that wastes water and can lower the tank level, exposing the heating elements to air. This can cause the elements to burn out and fail prematurely.
Is it dangerous to replace a drain valve myself?
It is generally safe if you follow the proper shutdown procedures. The main risks are scalding from residual hot water and electrical shock if power is not cut off. By draining the tank and isolating the power, you eliminate these hazards. However, if the valve is rusted into place, forcing it with heavy tools can damage the tank bottom, so proceed with caution.
How long do drain valves last?
A high-quality brass drain valve typically lasts as long as the water heater itself, which is around 10 to 12 years. Plastic valves tend to fail much sooner, often lasting only 3 to 5 years before becoming brittle and cracking. Regular flushing can extend the life of any valve type by preventing debris accumulation.
What if the leak is coming from the tank itself, not the valve?
If you suspect the tank bottom is corroding, the valve repair will not solve the problem. A leak through the tank metal indicates the end of the unit's life. In this case, the only solution is to replace the entire water heater. Patching a tank is not a permanent fix and is rarely recommended by plumbing experts.