Detect Water Leak Behind Walls: 5 DIY Steps & Tools
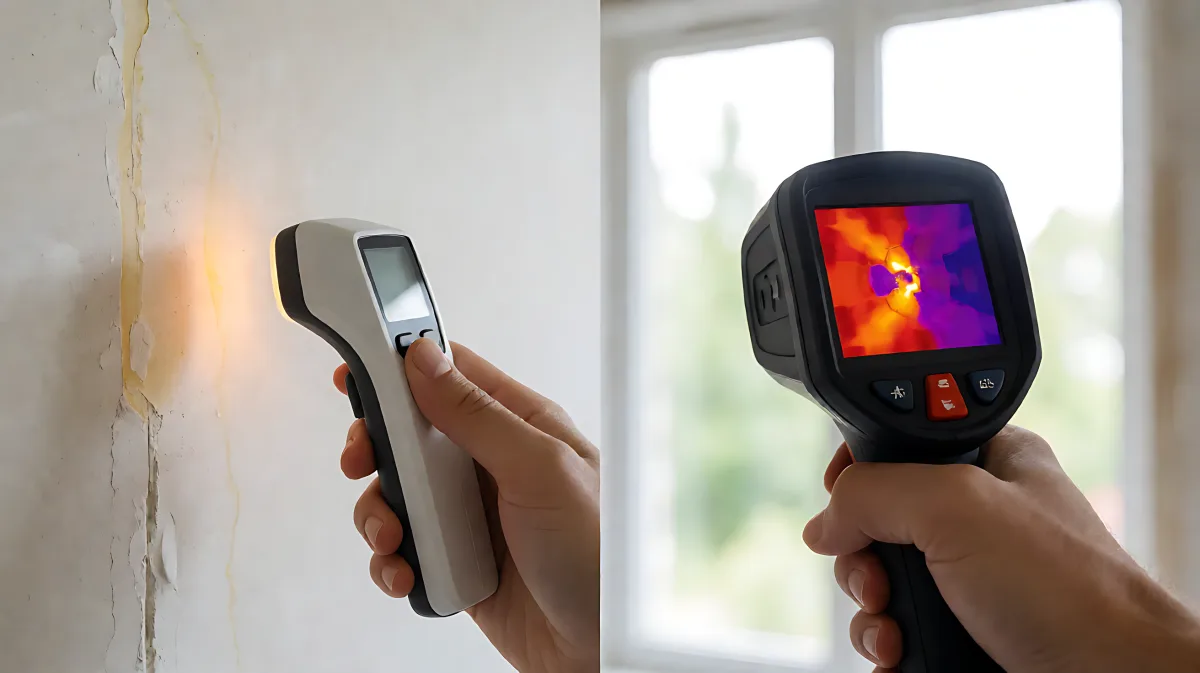
Discover the early warning signs of hidden wall leaks and learn how to use moisture meters and water meter tests to pinpoint the source without tearing up your home.
To detect a water leak behind walls, start by checking for visual signs like peeling paint or musty smells, then run a two-hour water meter test with all fixtures off. If the meter moves, use a pinless moisture meter to scan the suspect area in a grid pattern to locate the wet spot, and consult a professional if mold or structural damage is present.
What Are the Early Warning Signs of a Hidden Wall Leak?
Water damage rarely announces itself with a dramatic burst pipe. Instead, it often starts quietly with subtle changes in your home’s structure. Before you need expensive invasive tools, your house usually gives you clues. According to the Environmental Protection Agency, household leaks across the US waste up to 1 trillion gallons of water annually, meaning even a tiny hidden drip costs you money and structural integrity every day it remains unfixed.
The most common visual indicators include bubbling paint, peeling wallpaper, and warped baseboards. These occur because moisture trapped between the drywall and the finish causes the adhesive to fail. You should also look for discolored patches that turn yellow, brown, or rust-colored, often with a darker outline. If you notice a musty, earthy odor in a specific room that persists after cleaning, it is a strong sign that mold is thriving in the dark, moist cavity behind your drywall. Additionally, if the drywall feels soft or spongy when you press it with your palm, the material is saturated and weakening.
- Visual Changes: Bubbling paint, peeling paper, and warped wood trim.
- Odors: Persistent musty or mildew smells localized to one area.
- Texture: Soft, spongy drywall or visible swelling in wall panels.
- Costs: An unexplained 20% spike in your monthly water bill.
How Do You Confirm a Leak Using Your Water Meter?
Once you suspect a leak based on visual cues, the most reliable DIY method to confirm an active issue is the water meter test. Your water meter acts as a truth-teller for your plumbing system. If water is moving through the pipes when everything is turned off, you have a confirmed leak. This test is crucial because it distinguishes between condensation or humidity issues and an actual flow of water from a broken pipe or fitting.
To perform this test, follow these steps carefully: First, shut off every water source in the house. This includes faucets, showers, dishwashers, washing machines, and any automatic ice makers or irrigation systems. Next, locate your water meter, which is typically found in a concrete box near the sidewalk or at the side of the house. Many modern meters have a low-flow indicator, often a small triangular dial or digital display that spins even with a tiny amount of water. If this indicator is moving, you have an active leak. If the indicator is static but you still suspect a problem, record the exact reading on the meter. Leave the water off for at least two hours without flushing any toilets. Check the reading again. Any change in the numbers confirms that water is escaping somewhere in your system.
Which Tools Help You Pinpoint the Exact Location?
After confirming a leak exists, the challenge is finding its exact location without destroying your walls. Modern technology allows you to see through drywall without causing damage. The most effective tool for homeowners is a pinless moisture meter. These handheld devices measure moisture content in materials without leaving holes in your paint job. Pinless sensors scan up to three-quarters of an inch deep, making them ideal for mapping out damp areas.
| Tool Type | Best For | How It Works |
|---|---|---|
| Moisture Meter | Pinpointing wet drywall | Measures electrical resistance in materials |
| Thermal Camera | Finding temperature shifts | Detects evaporative cooling from moisture |
| Acoustic Sensor | Hearing pressurized leaks | Amplifies the sound of hissing or dripping |
| Borescope | Visual confirmation | Small camera fed through a tiny hole in the wall |
To use a moisture meter effectively, first establish a baseline dry reading on a wall you know is dry. Then, move to the suspect area and scan in a grid pattern. By mapping out the moisture levels, you can follow the trail to the highest concentration, which is usually where the leak source is located. Consumer-grade pinless meters are widely available and offer a significant return on investment by preventing unnecessary demolition.
What Are the Most Common Causes of Wall Leaks?
Understanding what is leaking helps you determine the repair difficulty. Pinhole leaks in copper pipes are a frequent culprit, especially in homes built between 1970 and 2000. These tiny perforations are caused by pitting corrosion and release a few drops to a steady drip per hour. Failed pipe fittings or solder joints are another common issue. Connections between pipe sections weaken over time, particularly at elbows, tees, and shutoff valves. These often start as a slow seep that worsens over weeks.
Shutoff valves behind fixtures, such as toilets, sinks, and washing machines, can also fail without warning. These leaks often travel along a stud cavity and emerge several feet away from the actual source, which is why stains may appear in completely different rooms than the leak origin. Additionally, cracked drain pipes inside walls can result from settling or impact damage during renovations. Unlike supply leaks, drain leaks only release water when the fixture is being used, which can make them harder to detect during a static meter test.
When Should You Call a Professional Plumber?
While DIY detection is effective for simple diagnostics, there are limits to what you can handle alone. If the water meter test confirms a leak but you cannot identify the source using a moisture meter, it is time to call a licensed plumber. Professionals use advanced equipment like infrared thermal cameras and acoustic sensors to locate leaks non-invasively. They can also distinguish between supply line leaks and drain line issues with precision. You should also seek professional help immediately if you find visible mold growth. Mold remediation requires specialized knowledge to prevent health risks and structural rot. According to the Insurance Information Institute, the average water damage claim is around $13,954, a cost that dwarfs the price of professional leak detection and repair.
How Much Does It Cost to Fix a Leak Behind a Wall?
The cost of repair varies widely depending on the cause and access. Professional detection only typically ranges from $275 to $475, a fee that is often credited back if you proceed with the repair through the same provider. A pinhole copper leak spot repair usually costs between $400 and $900, including pipe repair and drywall access. If the issue is a failed shutoff valve, replacement costs are generally between $300 and $650. For more complex issues like a cracked drain pipe section inside the wall, expect to pay between $600 and $1,400. If tile or cabinetry is in the way of the leak, labor costs will increase significantly because of the additional demolition and restoration work required. The biggest variable is always the access; opening drywall is cheap, while working around finished surfaces is expensive.
FAQ
Can a small leak behind a wall cause serious structural damage?
Yes, even a small pinhole leak releasing just 5 gallons of water per hour can produce 120 gallons per day. Over weeks, this volume soaks framing, insulation, and subflooring, leading to wood rot and significant structural weakening. Early detection is critical to prevent this compounding damage.
Is a moisture meter accurate for all types of wall materials?
Pinless moisture meters are most accurate on drywall, wood, and concrete. However, they can be less reliable on materials with high metal content or thick insulation layers. For best results, calibrate the device on a known dry area of the same material before scanning the suspect area.
What if the water meter does not move but the wall is wet?
If the meter is static but the wall is damp, the issue may be a condensation problem from an uninsulated cold water pipe, or a drain leak that only occurs during use. Perform a flow test by running all fixtures in the house and then checking the meter. If it moves only during use, the leak is likely on the drain side or a slow seep that is not constant.
Do I need to shut off the main water valve before using a thermal camera?
No, you should keep the water supply on when using a thermal camera to detect supply line leaks. The temperature differential between the hot or cold water in the pipe and the surrounding dry wall is what the camera detects. Shutting off the water would stop the flow and eliminate the temperature signature the camera needs to visualize the leak path.