The 2-Second Rule: How to Grab Your Cane Safely
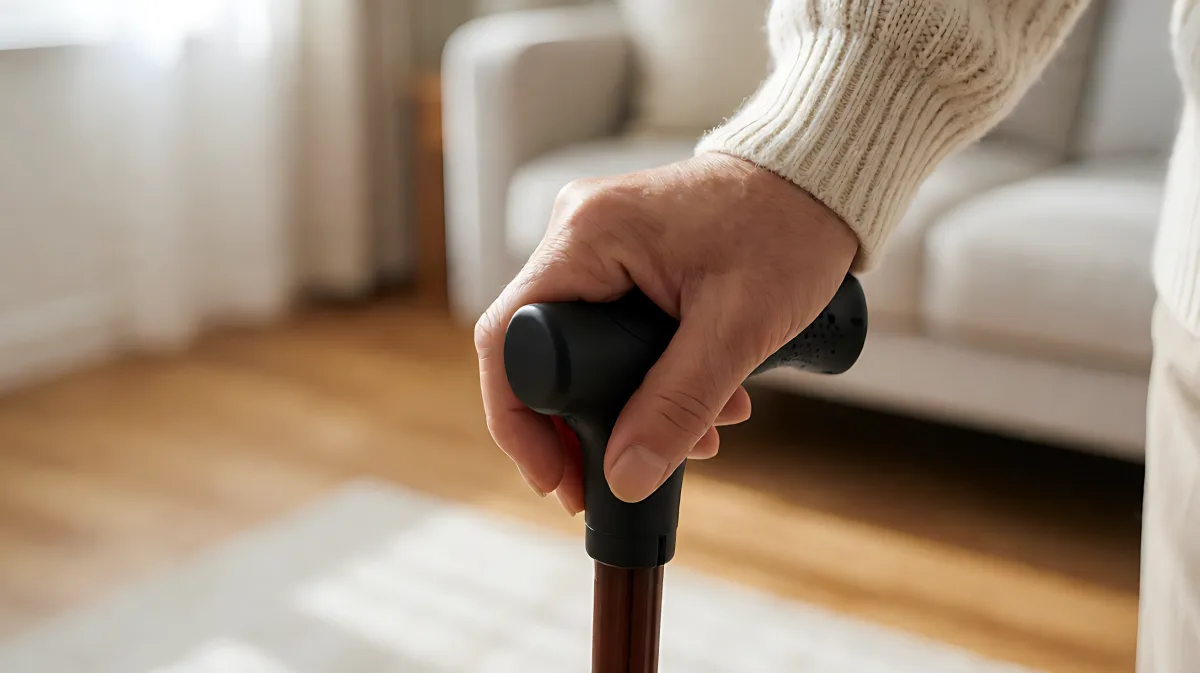
Struggling to pick up your walking cane? Discover the two-second grab technique that prevents drops and maintains your balance while transitioning from resting to walking.
Many people drop their canes because they reach for them while their body weight is already shifting. To prevent this, use the two-second rule: pause for two seconds to adjust your grip before stepping. This brief mental check ensures your hand is securely around the handle and your elbow is bent at 15 to 20 degrees, providing the stability needed to transfer weight safely. As of 2026, physical therapists emphasize that proper grip mechanics are critical for fall prevention among mobility aid users.
Why Do People Drop Their Cane?
A dropped cane is not just an inconvenience; it is a fall risk. When you lose your grip, your center of gravity shifts, often causing you to stumble. The most common cause is rushing the transition from a stationary position to walking. Research from the American Physical Therapy Association highlights that incorrect cane use increases fall risk rather than reducing it. The cane should carry approximately 20 to 25 percent of your body weight to offload the injured leg effectively. If you do not secure your grip before moving, you cannot achieve this weight transfer safely.
What Is the Two-Second Rule?
The two-second rule is a deliberate pause in your routine. Instead of grabbing the cane and immediately stepping off, you stop and check two things for two seconds. First, ensure the cane is in the hand opposite your weaker or injured leg. Second, confirm that your elbow has a slight bend, not a lock. This pause creates a stable base of support before you commit to your next step.
How to Set Up Your Grip Correctly
Before you start walking, your setup must be precise. If your cane is too short, you will lean forward and lose balance. If it is too tall, your shoulder will hike up, disrupting your natural stride. The correct height aligns the handle with the crease of your wrist when your arm hangs naturally. This position allows for that critical 15-to-20-degree elbow angle that absorbs shock.
- Stand in your regular walking shoes.
- Let your arms hang loosely at your sides.
- Adjust the cane so the top of the handle meets your wrist crease.
- Test the grip: your palm should wrap around the handle without straining.
Which Hand Should Hold the Cane?
Many families assume the cane goes on the same side as the sore leg, but in fact, this is wrong. You must hold the cane in the hand opposite your injured leg. For example, if your right knee hurts, hold the cane in your left hand. This counterbalances your body, replicating the natural swing of your arms and legs. It creates a wider, more stable base of support.
Executing the Safe Pick-Up and Step
Once your setup is correct, you need a reliable sequence to pick up and walk. Do not lift the cane with a jerk. Instead, lower your body slightly to reduce the strain on your shoulder, grip the handle firmly, and stabilize.
- The Pause: Take a two-second mental beat. Check your grip and elbow angle.
- The Plant: Place the cane tip four to six inches ahead and to the side of your forward foot.
- The Step: Step forward with your weak leg and the cane at the same time.
- The Transfer: Shift your weight onto the cane and the weak leg together.
- The Follow-Through: Bring your strong leg forward to complete the stride.
Common Mistakes That Cause Drops
Even with the best intentions, certain habits lead to instability. One major error is locking your elbow. A straight arm sends shock directly to your shoulder and wrist, making it harder to control the cane. Another mistake is over-reaching. If you place the cane more than six inches ahead, you pull yourself off balance and lose weight-bearing support. Keep the tip close to your foot.
Many users also forget to check the rubber tip, or ferrule. A worn or smooth tip is a slip hazard. As of 2026, mobility experts recommend inspecting this part monthly. If the rubber has hardened, replace it immediately to ensure your grip on the ground matches your grip on the handle.
Navigating Stairs and Transitions
Stairs are the highest-risk area for cane users. The rule is simple: up with the good, down with the bad. When going up, step up with your strong leg first, then bring the cane and weak leg to the same step. When going down, place the cane on the step below first, step down with the weak leg, and finish with the strong leg. Always use a handrail if available, holding the cane in your other hand.
For sitting and standing, never use the cane as a lever to pull yourself up. Instead, push up using the chair arms or a stable surface. Bring the cane to your side only after you are fully upright and balanced.
FAQ
Why do I feel unstable when I pick up my cane?
You likely have not paused to adjust your center of gravity. Rushing the lift causes your body to lurch forward. Use the two-second rule to stabilize your stance before you move the cane.
How high should my elbow be bent?
Your elbow should be bent between 15 and 20 degrees when you grip the handle. This angle absorbs shock and prevents strain on your shoulder.
Is it okay to use the cane on the same side as my bad leg?
No. This removes the counterbalance effect and forces you to lean on the cane to offload the injured side, which is less stable and can harm your spine. Always use the opposite hand.
What if I cannot hold the cane with my weak hand?
If you are using the cane for balance rather than pain relief on a specific leg, you may hold it in your non-dominant hand to keep your dominant hand free for tasks. However, if one leg is injured, the cane must be in the opposite hand to your injury.